Mywifiext - my wifi extender
Configure or fix your Net gear WiFi extender hassle-free via Mywifiguider.site—click the links below for a quick fix.
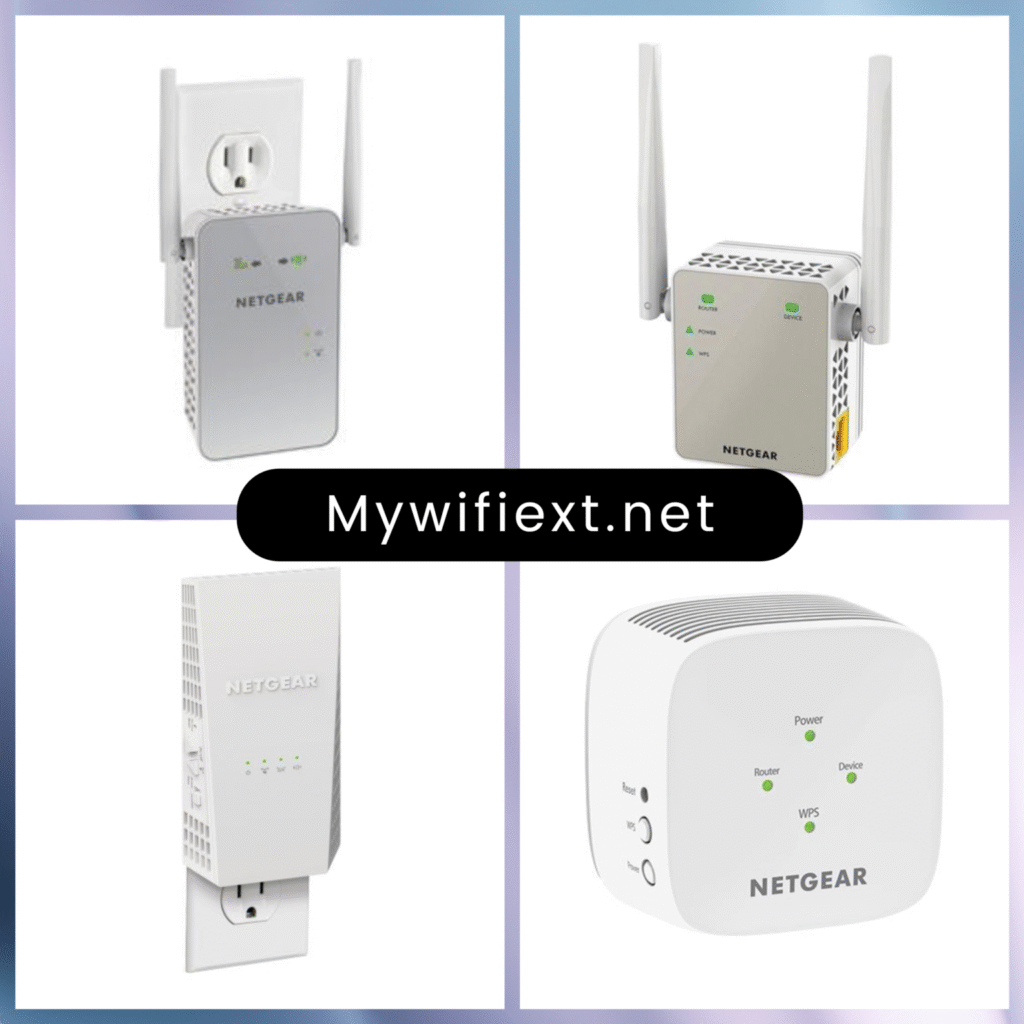
NET GEAR Extender via MyWiFiExt.net
Dead zones and unstable WiFi are common frustrations in both homes and offices. Thankfully,
NET GEAR WiFi extenders offer a solution to extend your existing network and improve
connectivity. However, getting your extender working efficiently requires proper setup and
maintenance — and that’s where www.mywifiext.net comes in.
In this comprehensive guide, you’ll learn how to:
– Set up your NET GEAR extender using mywifiext.net
– Log into the mywifiext admin panel
– Troubleshoot common problems
– Optimize placement and settings for best results
Let’s get started.
Alternative Setup via WPS (Wi-Fi Protected Setup)
If your router and extender both support WPS, you can complete setup without using a browser.
To Use WPS:
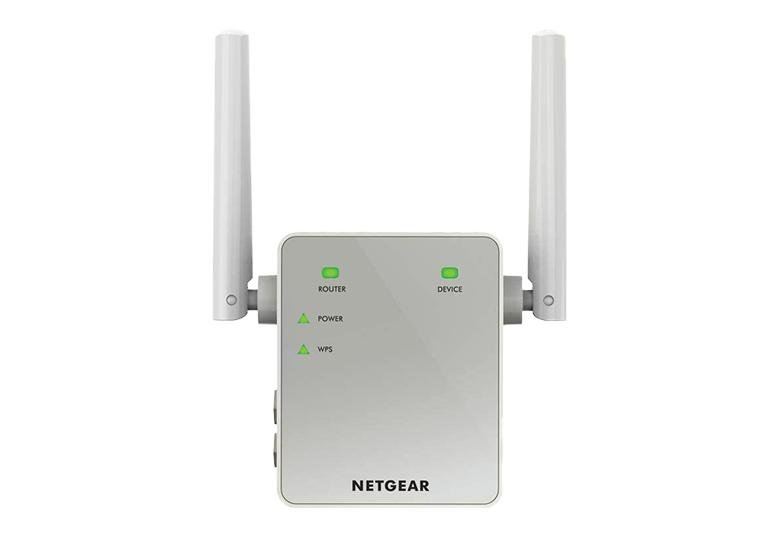
1. Press the WPS button on your extender.
2. Within 2 minutes, press the WPS button on your router.
3. The WPS LED on your extender should turn solid green, indicating a successful connection.
4. Reconnect your devices to the new extended network.
Note: WPS setup does not allow you to customize SSIDs or security settings.
Step-by-Step Setup Using www.mywifiext.net at Mywifiguider.site
To ensure your NET GEAR extender works at its full potential, follow these detailed steps to
complete the installation process.
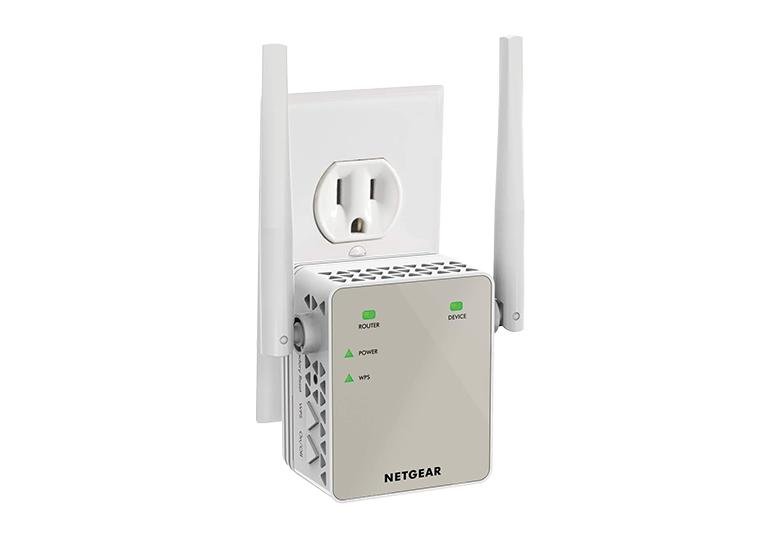
1. Plug in Your Extender
– Choose an outlet midway between your router and the area with weak WiFi.
– Plug the extender into the wall and wait for the Power LED to turn solid green.
– If the LED doesn’t light up, press the power button to activate it.
2. Connect to the Extender’s Default Network
– On your computer or smartphone, open WiFi settings.
– Connect to the extender’s SSID (typically NET GEAR\_EXT).
3. Visit www.mywifiext.net
– Open a web browser.
– Enter `www.mywifiext.net` into the address bar.
– If the page doesn’t load, make sure you’re connected to the extender’s WiFi network.
4. Create an Admin Account
– You’ll be prompted to set up a username and password for managing your extender.
– Choose strong credentials and set recovery questions in case you forget them.
5. Select Your WiFi Network to Extend
– The setup wizard will display a list of available WiFi networks.
– Select your router’s primary SSID for both 2.4GHz and 5GHz bands (if available).
– Enter your existing WiFi password when prompted.
6. Customize the Extended Network
– You can use default names like Home\_EXT or create custom SSIDs for the extender.
– Click Next to apply the settings.
7. Confirm Setup and Reconnect Devices
– Disconnect from NET GEAR\_EXT and reconnect to your new extended network.
– Check for internet access and signal strength.
Your extender is now successfully installed using mywifiext.net!
How to Log In to MyWiFiExt.net Dashboard
Logging in to your extender allows you to manage connected devices, change settings, and
update firmware.
Steps:
1. Connect your device to the extender’s WiFi.
2. Open a browser and visit `www.mywifiext.net`.
3. Enter the admin username and password you created earlier.
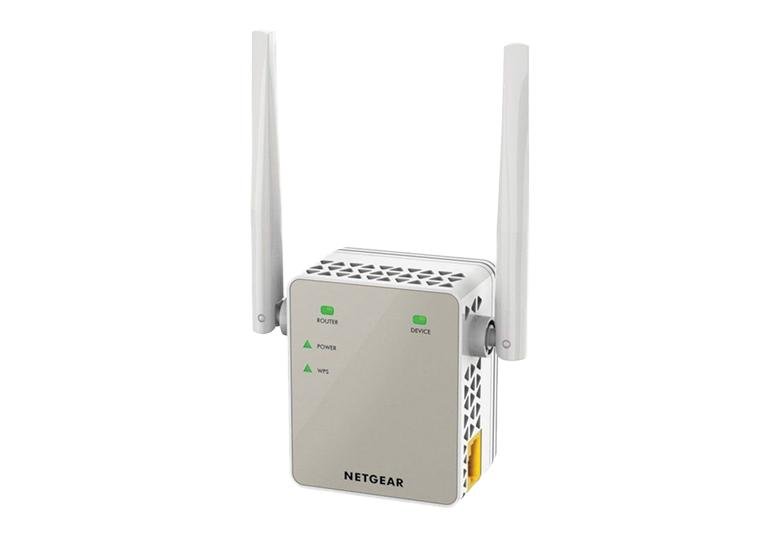
Once logged in, you can:
– Monitor signal strength
– Enable/disable WiFi bands
– Update firmware
– Block unwanted devices
– Change network names or passwords
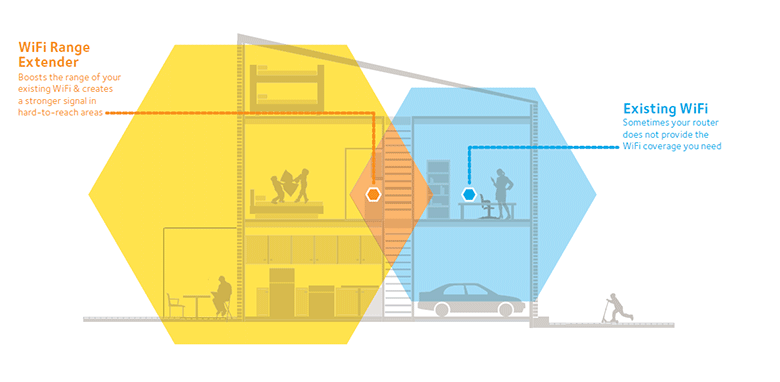
Optimizing Extender Placement for Maximum Coverage
Correct placement plays a crucial role in your extender’s performance.
Placement Tips:
– Avoid corners and behind large furniture.
– Stay away from electronic appliances like microwaves and cordless phones.
– Use a midway point between the router and the weak zone.
– Utilize the signal strength LED indicators if available.
Troubleshooting Common MyWiFiExt Issues at Mywifiguider.site
Encountering errors during setup or login? Here’s how to resolve the most frequent issues with
mywifiext.net.
Issue: Can’t Access www.mywifiext.net
Cause:
– You’re not connected to the extender’s network.
– Browser conflict or cache issue.
Solution:
– Connect to NET GEAR\_EXT or your extender’s extended network.
– Use IP address as an alternative address.
– Try a different browser or clear cache.
Issue: Setup Page Keeps Reloading or Crashing
Cause:
– Browser incompatibility or firmware glitch.
Solution:
– Use Chrome or Firefox.
– Reboot the extender and restart setup.
– Perform a hard reset if needed.
Issue: Forgot MyWiFiExt Login Credentials
Solution:
– Use the password recovery option on the login page.
– If that fails, reset the extender (hold the reset button for 10 seconds).
Issue: Extender Connected but No Internet
Cause:
– Incorrect WiFi password during setup.
– Extender is out of the router’s range.
Solution:
– Redo the setup and ensure the correct password is entered.
– Place the extender closer to the router.
Optimizing Extender Placement for Maximum Coverage
Correct placement plays a crucial role in your extender’s performance.
Placement Tips:
– Avoid corners and behind large furniture.
– Stay away from electronic appliances like microwaves and cordless phones.
– Use a midway point between the router and the weak zone.
– Utilize the signal strength LED indicators if available.
Pro Tips for Better Performance
– Use different channels on your router and extender to reduce interference.
– Restart your extender once a week.
– Monitor connected devices to ensure no bandwidth hogs.
– Use 5GHz band for streaming and gaming; 2.4GHz for browsing and emails.
– Avoid overlapping WiFi names for clarity.
Resetting the Extender
Resetting is often the best way to fix persistent issues.
How to Reset:
1. Locate the Reset hole (usually on the back).
2. Insert a paperclip and hold the button for 10–15 seconds.
3. Wait for the extender to reboot.
Mywifiguider.site
Using www.mywifiext.net for setup and maintenance empowers you to manage your network
smartly and efficiently. From fixing dead zones to boosting connectivity for work, study, or
entertainment — a properly configured extender is a game-changer.